Showing posts with label sew'n sews. Show all posts

Saturday, May 28, 2011

log cabin blocks

Last Thursday evening was the Sew'n Sews monthly meeting.  Our block for May is the log cabin.


Machines at the ready, it's time to cut our fabric.

The strips are 1.5 inches wide.  The top two red strips are for the center of the block, they are cut into 1.5 x 1.5 inch squares.


The beginning of a block.  A center square surrounded by two light pieces of fabric and then two dark pieces of fabric.


Continue adding fabric strips until you are happy with the block size.

Our final blocks.

Saturday, March 26, 2011

Stitchin' and a Laughin'

Hi Everyone!  Last Thursday the Sew'n Sews got together for another evening of fun and quilting.  Our chosen block for March was the Ohio Star.  We also discussed our mini-quilting retreat coming up in July where we will put all our blocks together and quilt them.  We are even going to give hand quilting a try, so it will truly be an old-fashioned quilt bee for us this summer.  Hopefully, the weather will cooperate and we'll have nice sunny weather (and no snow, which has happened...seriously!).

Enjoy!
Mary-Frances


Pressing the fabric before we start.

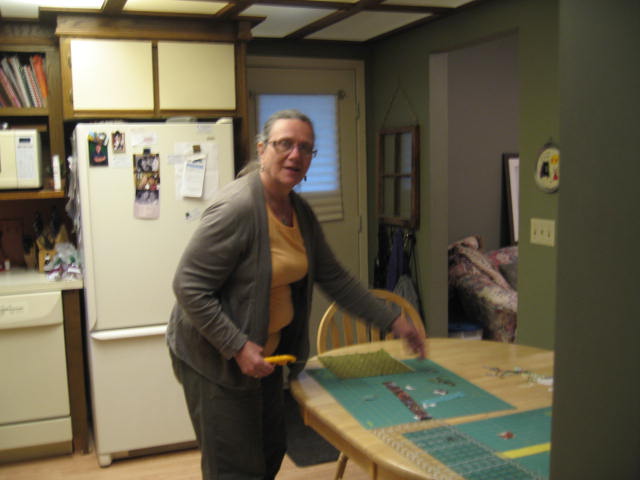
Trying to hide from the camera in the kitchen...gotch'a!
 
I'm busy supervising here and having a nice cuppa.  :-)
 
Sue's the picture of concentration.

Tah - dah!  Sue chose some lovely Christmas fabrics with an old-fashioned feel to them - beautiful!

Michelle's block has a more contemporary feel to it.
 
A closer look at Michelle's block.  Aren't these fabrics yummy?  I think we all wanted to take some of this fabric home with us.

Yvonne's pride in her block shines through.  Love this block, it's too cute!

A closer look at the whimsical fabric she chose.
 
Here's Marilyn with her block, another beauty.  Some day I will actually get a photo of her looking at the camera!!


Saturday, February 26, 2011

Of Strips and Strata...tutorial one

Hello everyone!  It's good to be back in blogland.  The Sew'n Sews gathered at my place this past Thursday and we worked on three different ways of creating strip blocks.  Sue presented the first method - using fabric as the foundation.  I even remembered to take a few photos for you - yoohoo!  Here's what we worked on.

Enjoy!
Mary-Frances


Sue and Marilyn, ready to sew!
 
Sue brought a few of her strip blocks for show and tell...they were fabulous!

Begin with a piece of fabric of your choice, bearing in mind a portion of this will show on the final block so be sure it's something you like!  Cut to whatever size block you wish to make.  We opted for 8.5 inches.
 
In order to accurately place the first strip, we need to mark out the one-inch section of the foundation piece that will not be covered by strips. (This dimension is completely arbitrary, you could make it any size you like.)  In order to do this accurately, place your ruler diagonally across the foundation square, with the 1/2 inch mark lined up at each corner.  Make your first line using a pencil or pen, don't worry as the line will be covered with fabric.


Here is the block, ready to go.


Place your first strip right side down, lining up the right edge of your strip with the right line drawn on the block.  I know, you're thinking 'but that covers the whole center strip!'  Well, yes it does, but if you sew your strip to the foundation with your 1/4 inch seam, then flip it over to the right, as in the photo above, you'll see that it all works out just fine! 
Press the strip you've just added, then select another piece of fabric and place this right side down on the first strip.  Sew together, flip over, press and continue until one side of your foundation square is covered.  Repeat on the other side.


I prefer to press with the iron after adding each strip.  It keeps everything lying nice and flat against the foundation fabric.

Here's one block done.

Now you are ready to trim off the excess fabric, using the foundation block as a guide..keep the scraps for a different project.

Here's Marilyn with her first block done.  Awesome job!
Here are two of our blocks done.  Note the white foundation fabric strips in the center of each block.  Although we began with a one-inch strip, once the strips are added, its final size is 1/2 inch wide.  Be sure to take this into consideration when deciding on the width of your center strip.